StoreFront v3.0 and new Unified Receiver Experience – First Impressions (Part 3)
I was mostly interested in the new customization options and how to switch from the previous Green Bubble UI (a.k.a. the Classic Receiver Experience) to the new Unified Receiver Experience. So I’d like to start a little blog series about my first steps with StoreFront v3.0, covering:
- Upgrading to StoreFront v3.0 and enabling the new Unified Receiver Experience
- Customizing the Receiver for Web Unified Experience
- Evaluating the Google Chrome Support
With Receiver for HTML5 you get the full Citrix experience with Chrome devices. The following features have been added in the latest version v1.7:
- Pure Socket Connection
- Session Reliability
- File Transfer
- Access to Google Drive
- Single App Kiosk Mode
- New Receiver UI
Note: when connecting with Receiver for HTML5 v1.7 you still need a NetScaler Gateway. Without a NetScaler Gateway you cannot utilize Receiver for HTML5. Requirements can be found here. For a PoC of Receiver for HTML5 without NetScaler Gateway by directly connecting to StoreFront v3.0 read this blog article (coming soon).
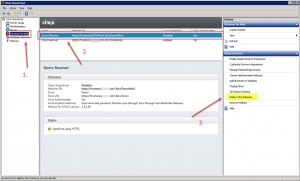
Enable HTML5 Support for Receiver for Web for the corresponding site by clicking Deploy Citrix Receiver:
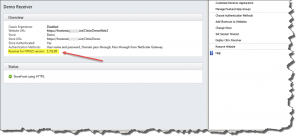
You can verify the installed Receiver for HTML5 version in the center pane for the selected Receiver for Web site:
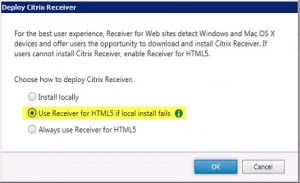
Enable Use Receiver for HTML5 if local install fails:
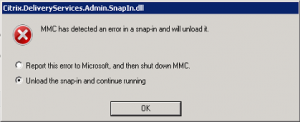
Note: in case your MMC crashes as soon as you click Deploy Citrix Receiver and you receive the following error:
Read the following blog article to solve the issue: Citrix StoreFront v3.0 MMC crashes with error – MMC has detected an error in a snap-in and will unload it
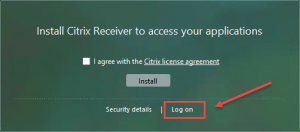
After having enabled Receiver for HTML5 login to your NetScaler Gateway and do not install the Citrix Receiver plugin during logon. Simply click Log On and bypass the Citrix Receiver installation through StoreFront:
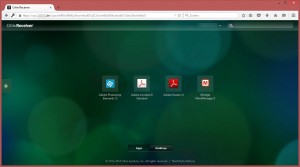
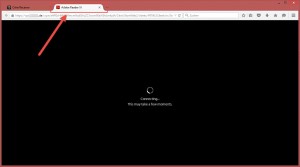
Then launch any Published Application available and verify whether the session will be launched in a separate browser tab using Receiver for HTML5:
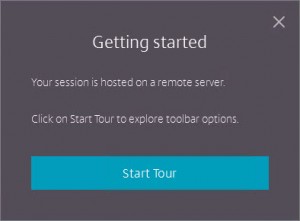
When using Receiver for HTML5 for the first time you’ll be greeted by the Getting Started wizard:
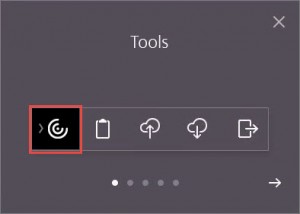
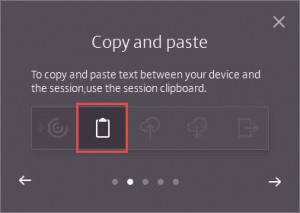
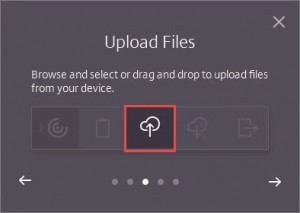
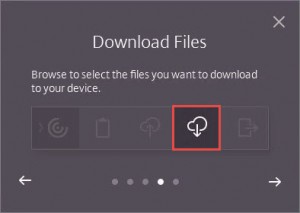
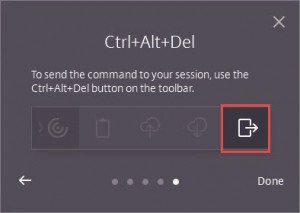
You can Start the Tour optionally as it explains the Receiver for HTML5’s tab functions when clicking the Tools icon:
- Tools
- Copy and Paste
- Upload Files
- Download Files
- Ctrl+Alt+Del
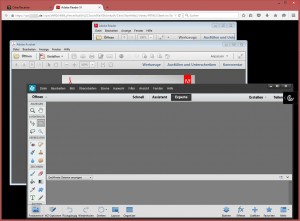
You can launch multiple Published Applications as they’re all being executed within the same session and browser tab (thanks to Session Sharing):
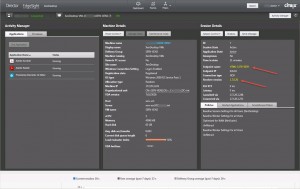
Citrix Studio confirms that we’re connected using Receiver for HTML5:
Further reading:
- Citrix Product Documentation – Configure Receiver for HTML5
- Citrix Product Documentation – About this release
- Citrix Blogs – Receiver for HTML5 1.7 Supports Session Reliability and File Transfer
- Citrix Blogs – Robust Support, Big Updates with Receiver for Chrome 1.7
- Citrix Blogs – Storefront 3 Web Customization: Branding Your Deployment
- Citrix Blogs – Deploying and Branding Receiver X1
- Citrix Blogs – X1 Customization: Going deeper with CSS
