StoreFront v3.0 and new Unified Receiver Experience with Citrix Receiver for Windows v4.3 (Part 2)
I was mostly interested in the new customization options and how to switch from the previous Green Bubble UI (a.k.a. the Classic Receiver Experience) to the new Unified Receiver Experience. So I’d like to start a little blog series about my first steps with StoreFront v3.0, covering:
- Upgrading to StoreFront v3.0 and enabling the new Unified Receiver Experience
- Customizing the Receiver for Web Unified Experience
- Evaluating the Google Chrome Support
After having upgraded to StoreFront v3.0 successfully I started tinkering with the customizable settings for Receiver for Web:
- Customize Receiver Appearance
- Manage Featured App Groups
Note: all Customizations and configured Feature App Groups will show in both Native Receiver for Windows v4.3 and Receiver for Web.
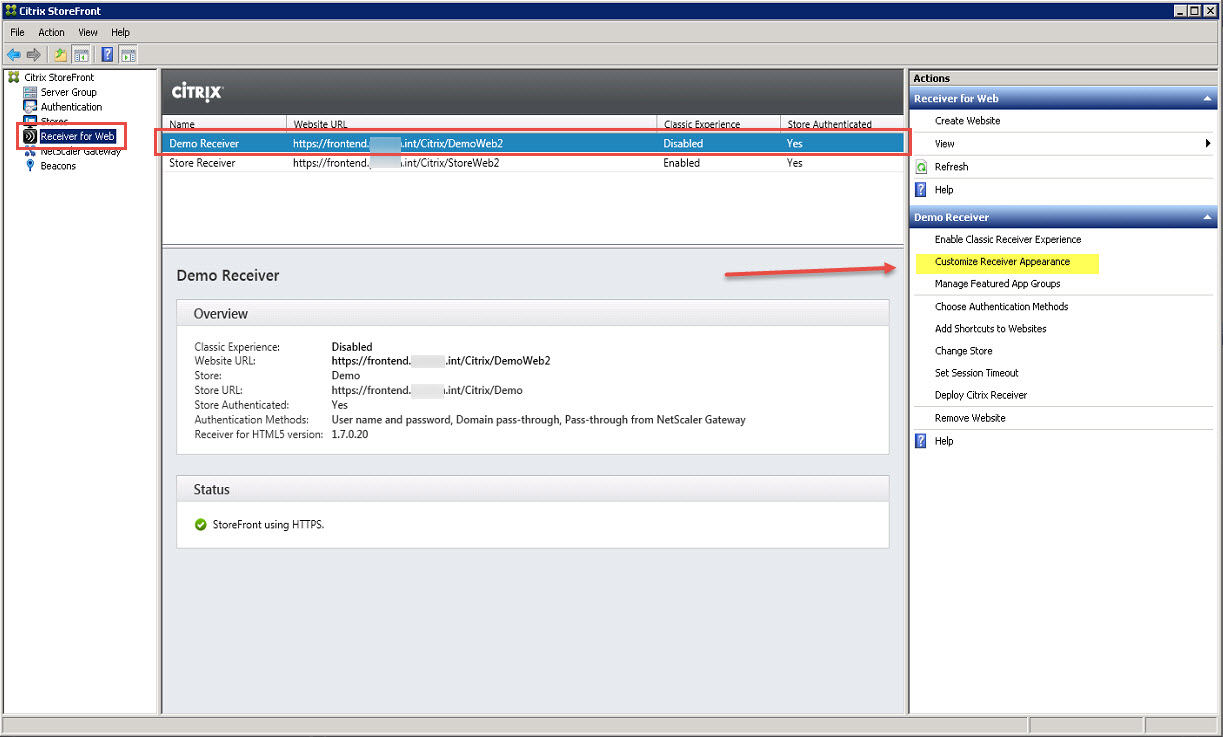
Customize Receiver Appearance:
From the Reveiver for Web node select the corresponding site and click Customize Receiver Appearance in the right pane:
Here you have access to a couple of basic settings, which are quite self explanatory by the way, e.g.
- change logo for Logon and Post Logon pages
- adjust Background color
- adjust Font color for text/icons and hyperlinks
- reset to Default Settings in case you messed up

As soon as you confirm your settings by clicking OK they become active immediately. No service restart or iisreset required. Just refresh the Receiver for Web site in your browser by hitting <F5>.
The following files are being edited as soon as you hit Ok:
- C:\inetpub\wwwroot\Citrix\DemoWeb2\custom\Citrix_HalfHeaderLogo.png
- C:\inetpub\wwwroot\Citrix\DemoWeb2\custom\style.css
If you’re accustomed to CSS Style Sheets and know how to read/edit them, I guess you would be able to tinker with those settings a little bit more:
/* Edit this file to customize the User Interface by overriding the existing CSS Styles.
* You can use browser development tools to identify the CSS classes you want to customize.
*//* When using the StoreFront Authentication SDK to return custom forms, a class “customform” is added to each form.
* The following commented CSS rule illustrates how to modify the width of form field labels for custom forms.
*//*
.customform .field {
width: 400px;
}
*//* The following section of the file is reserved for use by StoreFront. */
/* CITRIX DISCLAIMER: START OF MANAGED SECTION. PLEASE DO NOT EDIT ANY STYLE IN THIS SECTION */
.theme-header-bgcolor {
background-color:#626063;
}
.theme-header-color {
color:#FFFFFF;
}
.theme-highlight-color {
color:#07768C;
}
.is-hdpi .logo-container{
background-image: url(‘custom_logo.png’);
background-size: 319px 80px;
}
.logo-container{
background-image: url(‘Citrix_HalfHeaderLogo.png’);
background-size: 160px 40px;
}
/* CITRIX DISCLAIMER: END OF MANAGED SECTION. */
/* You may add custom styles below this line. */
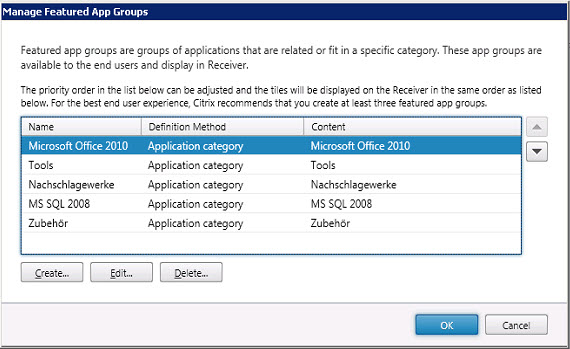
Featured App Groups:
With Featured App Groups you can group and consolidate applications that are related to each other or fit in a specific category. These groups are then available to the user and being displayed in the Apps tab in Receiver for Web. The process of creating and managing Featured App Groups is quite simple and self-explanatory:
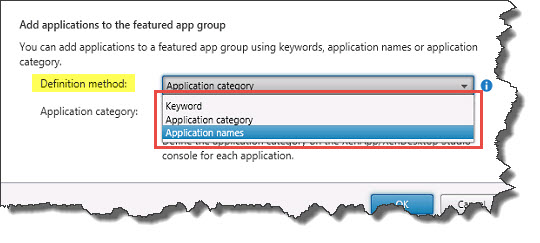
Applications can be grouped by the use of:
- application categories (as defined with your Published Applications in Citrix Studio)
- application names (inlcuding wildcards)
- keywords (as defined with your Published Applications in Citrix Studio)
You can gather information about your available Application Names, Application Categories, and Keywords by using Windows Powershell on your Controller server with the following command:
Add-PSSnapin *citrix*
Get-BrokerApplication | Select PublishedName,ClientFolder,Description
Note:
- PublishedName = Application Name
- ClientFolder = Application Category
- Description = Keywords

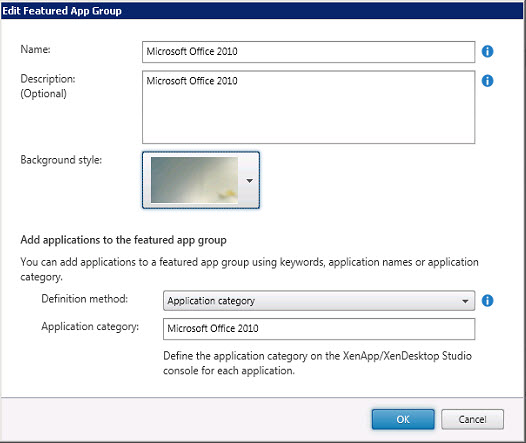
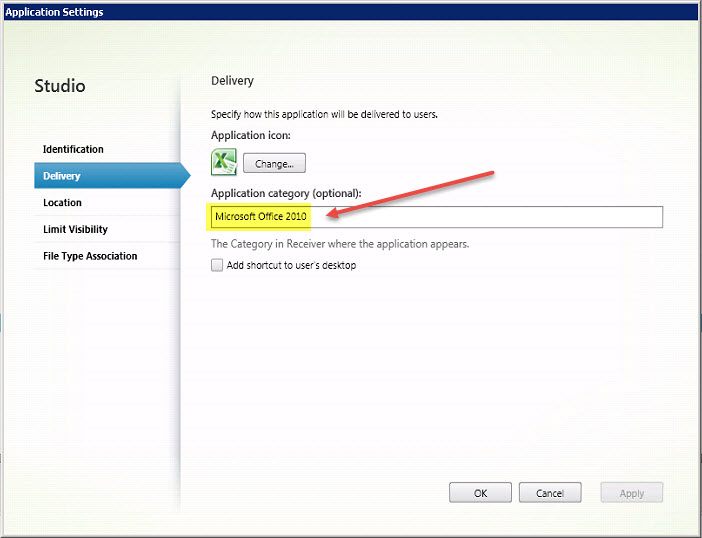
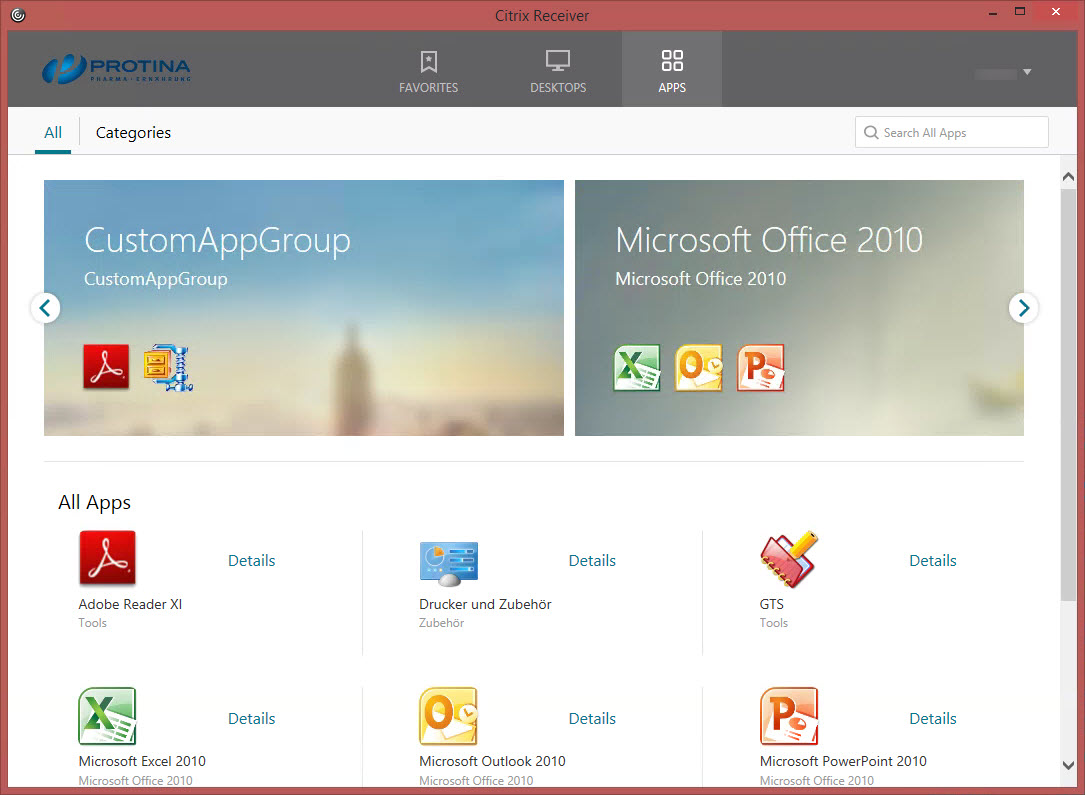
1. When defining application categories you can define Application Categories in the Citrix Studio console for each published application and again reference those in StoreFront:
Define the application category on the XenApp/XenDesktop Studio console for each application.
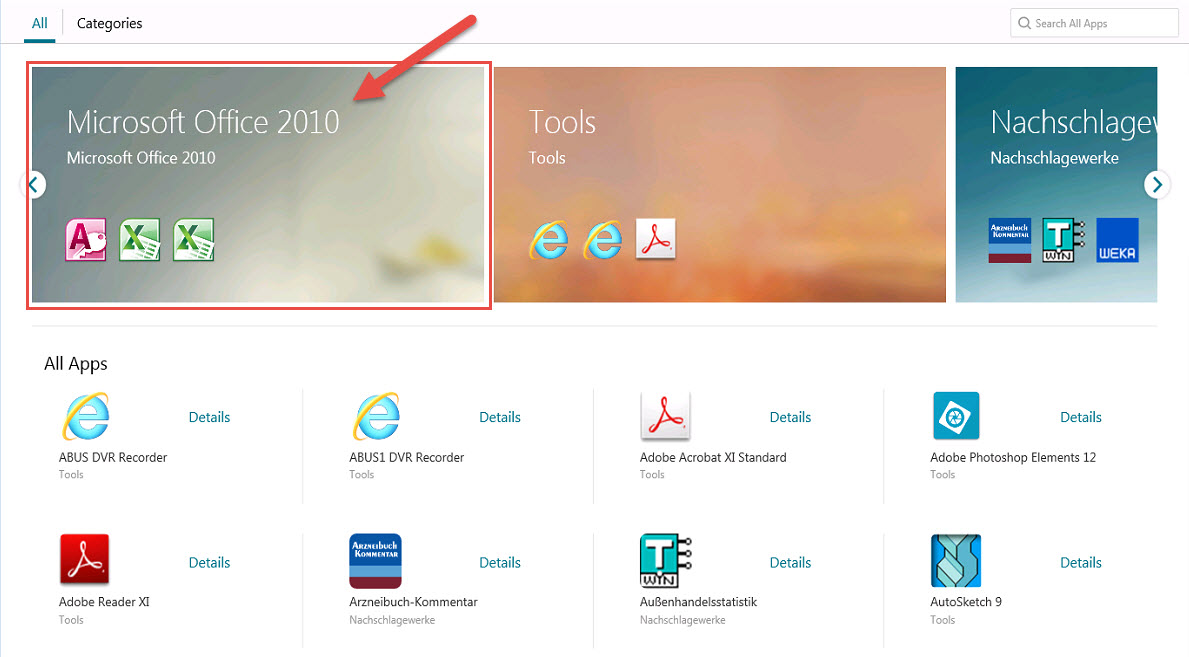
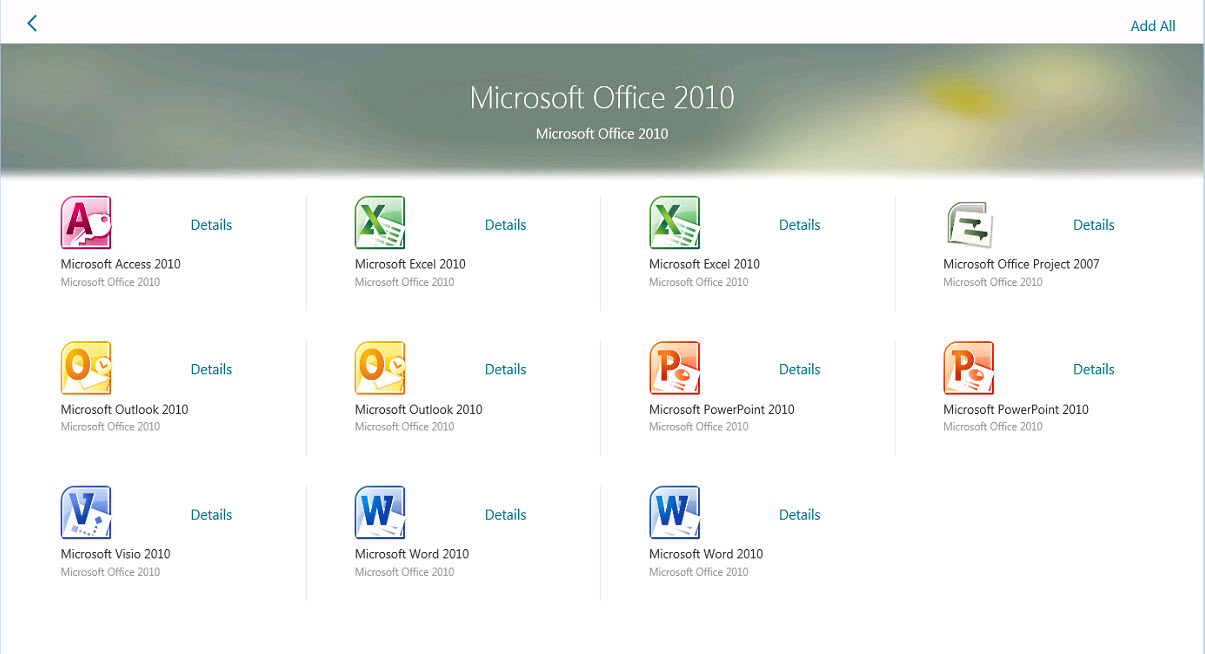
It would then look like this in Receiver for Web by clicking Apps and browsing the available Featured App Groups, e.g. Microsoft Office 2010 (assuming the user has the appropiate access rights to the published applications):
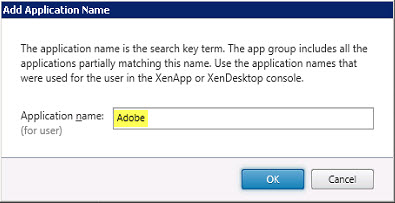
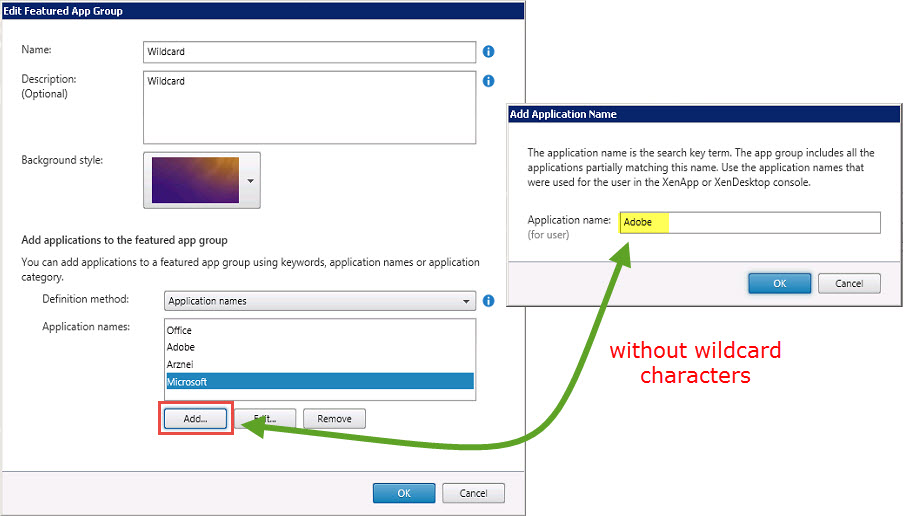
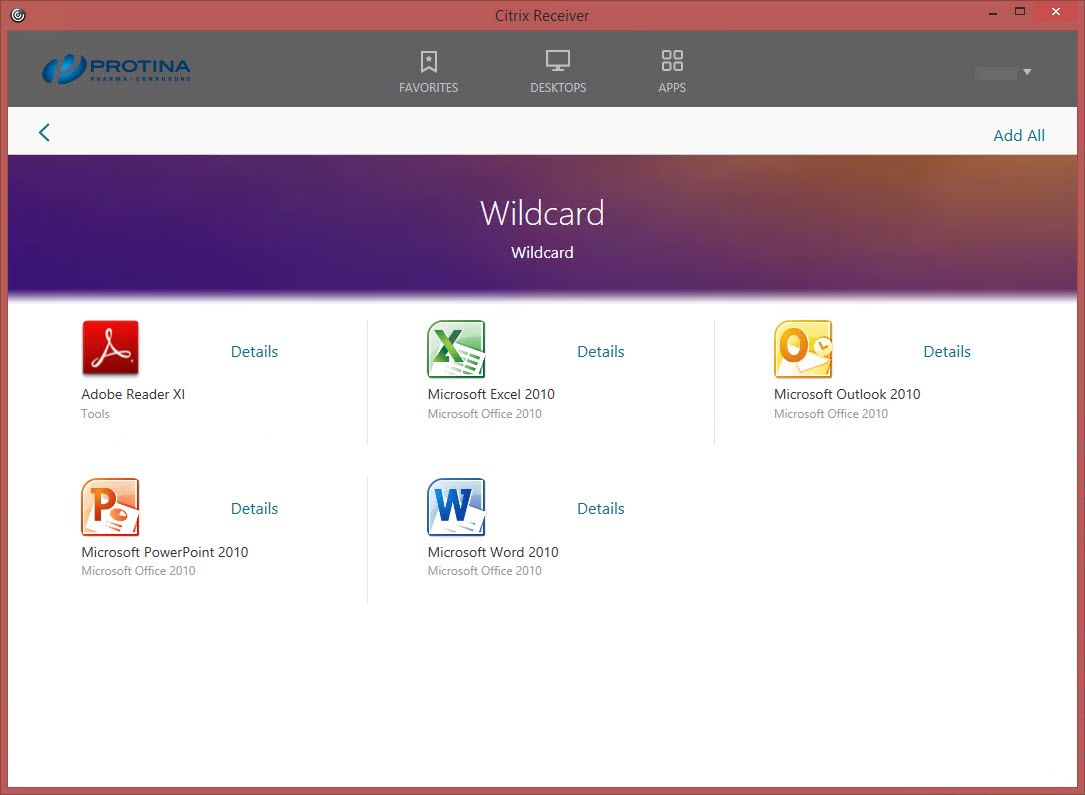
2. When defining application names simply enter a search key term that is used as part of the Published Application name when published in Citrix Studio:
The application name is the search key term. The app group includes all the applications partially matching this name. Use the application names that were used for the user in the XenApp or XenDesktop console.
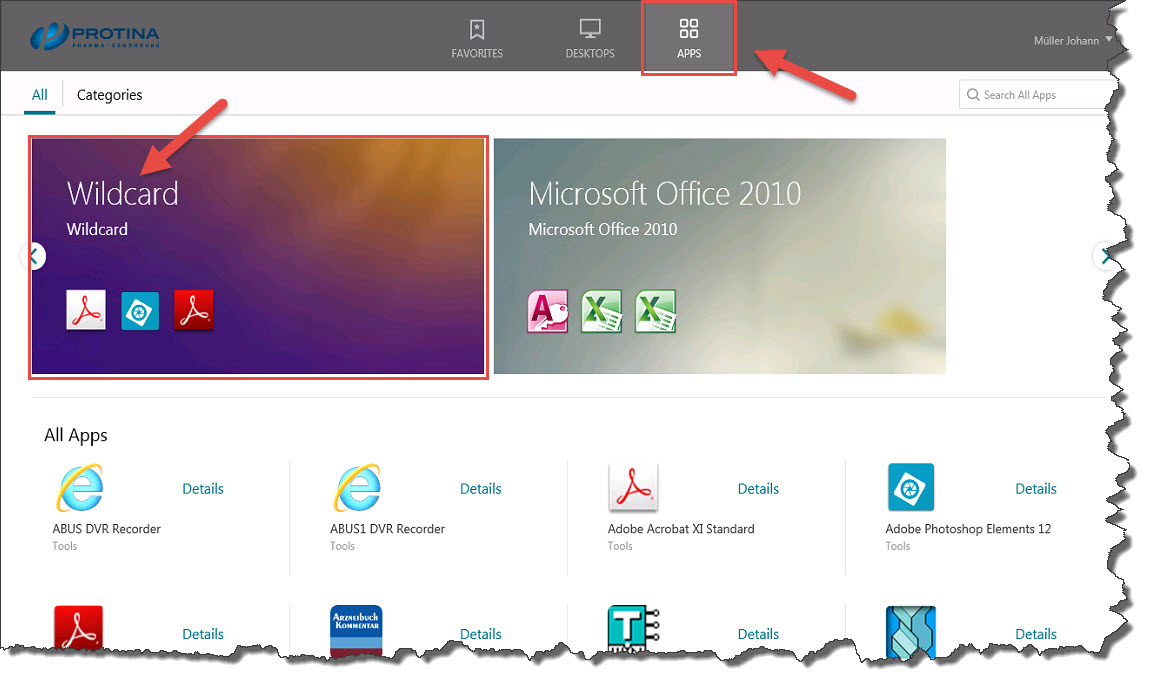
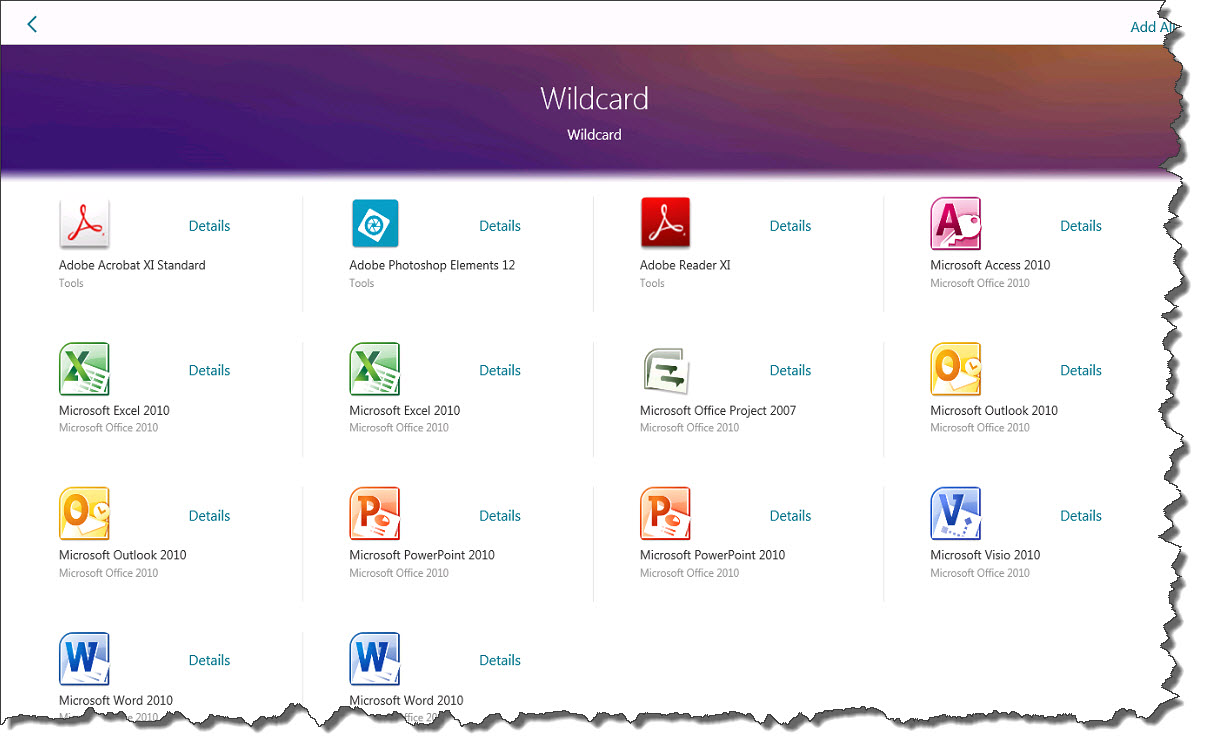
It would then look like this in Receiver for Web by clicking Apps and browsing the available Featured App Groups, e.g. Wildcard (assuming the user has the appropiate access rights to the published applications):
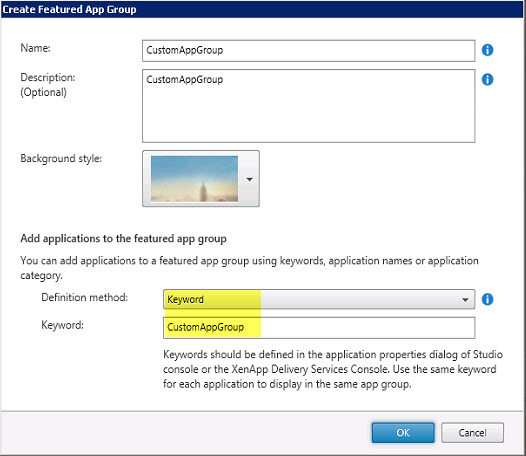
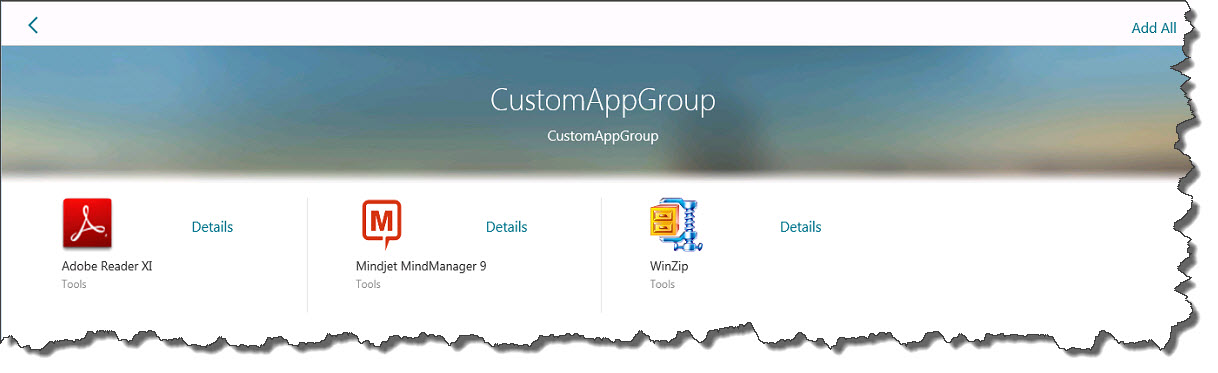
3. When using keywords you can define custom Keywords when publishing applications in Citrix Studio and the reference those keywords in Citrix StoreFront, e.g. KEYWORDS:CustomAppGroup:
Keywords should be defined in the application properties dialog of Studio console or the XenApp Delivery Services Console. Use the same keyword for each application to display in the same app group.

Create a new Featured App Group with Definition Method: Keyword and add the newly defined keyword, e.g. CustomAppGroup:
The results would look like this (assuming the user has the appropiate access rights to the published applications):

Now just checking whether the same goes for native Receiver for Windows v4.3:
Stay tuned for the next part of my StoreFront v3.0 First Impressions series:
Further reading:
- Citrix Blogs – Hiding Applications in Citrix StoreFront
- Citrix Blogs – Now you see me…. Now you don’t! (A guide to hiding published resources)
- Citrix Blogs – Storefront 3 Web Customization: Branding Your Deployment
- Citrix Blogs – Deploying and Branding Receiver X1
- Citrix Blogs – X1 Customization: Going deeper with CSS