Citrix NetScaler – Firmware Upgrade using CLI
Upgrade methodology
- Download latest firmware from Citrix Homepage
- Backup existing NetScaler config
- Copy firmware to Netscaler
- Upgrade firmware via CLI
- Reboot NetScaler
- Verify configuration and functionality
Requirements
- Latest NetScaler firmware tar file
- Windows Client or Server
- Putty Client
- WinSCP Client
- NetScaler being accessible via SSH (Port 22)
As per Citrix:
Warning! Any customization within NetScaler or NetScaler Gateway might cause unexpected behavior during and after the upgrade or the downgrade process, and possible configuration loss. Any sort of customization within NetScaler or NetScaler Gateway should be backed up and removed before the upgrade or the downgrade process.
How to backup a existing NetScaler configuration
See my other blog entry on automated NetScaler backups:
- with GUI
- with CLI
- with Nitro/Powershell
Upgrade firmware via CLI
Before you run the install script, the files must be extracted and placed on the appliance. Use the following command to uncompress the bundle located, for instance, in /var/nsinstall/build-11.0-64.34_nc/:
tar -zxvf <archive_filename>.tgz
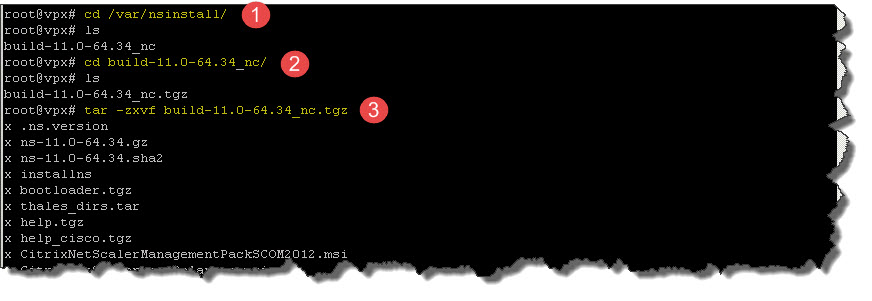
The run the following command to initiate the upgrade process:
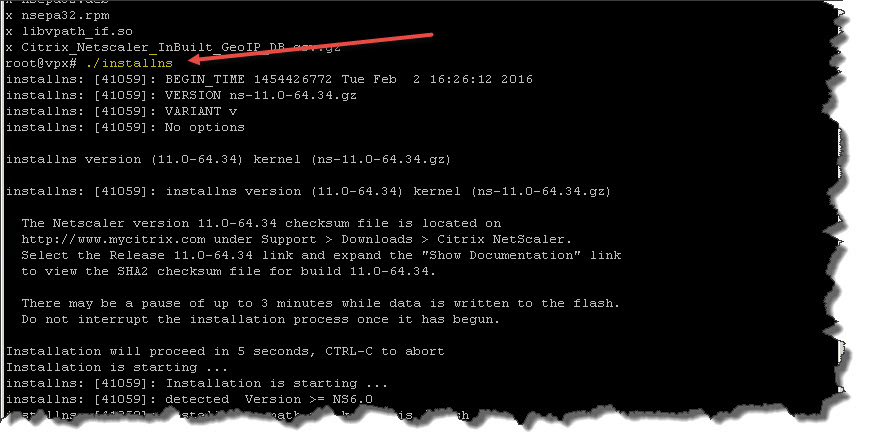
./installns
root@ns# ./installns
installns: [78217]: BEGIN_TIME 1444030959 Mon Oct 5 09:42:39 2015
installns: [78217]: VERSION ns-11.0-62.10.gz
installns: [78217]: VARIANT v
installns: [78217]: No optionsinstallns version (11.0-62.10) kernel (ns-11.0-62.10.gz)
installns: [78217]: installns version (11.0-62.10) kernel (ns-11.0-62.10.gz)
The Netscaler version 11.0-62.10 checksum file is located on
http://www.mycitrix.com under Support > Downloads > Citrix NetScaler.
Select the Release 11.0-62.10 link and expand the “Show Documentation” link
to view the SHA2 checksum file for build 11.0-62.10.There may be a pause of up to 3 minutes while data is written to the flash.
Do not interrupt the installation process once it has begun.Installation will proceed in 5 seconds, CTRL-C to abort
Installation is starting …
installns: [78217]: Installation is starting …
installns: [78217]: detected Version >= NS6.0
installns: [78217]: Installation path for kernel is /flashCallHome feature is currently disabled. Enabling this feature lets this
NetScaler device/instance automatically alert Citrix support on detecting
critical errors and/or potential failures, before it impacts your network.
You can also configure this feature anytime using the command line interface
(“enable feature callhome”) or the configuration utility. Please see the
documentation for further details.
Do you want to enable it NOW? [Y/N] Ninstallns: [78336]: Size of kernel ns-11.0-62.10.gz is 130936 kilobytes
installns: [78336]: Available space on /flash/ filesystem is 842440 kilobytes
installns: [78336]: Available space on /var is 7626642 kilobytes
installns: [78336]: Checking directories …
installns: [78336]: Checksumming ns-11.0-62.10.gz …
installns: [78336]: Checksum ok.
Copying ns-11.0-62.10.gz to /flash/ns-11.0-62.10.gz …
installns: [78336]: Copying ns-11.0-62.10.gz to /flash/ns-11.0-62.10.gz …
installns: [78336]: BEGIN KERNEL_COPY
…………….
installns: [78336]: END KERNEL_COPY
installns: [78336]: Changing /flash/boot/loader.conf for ns-11.0-62.10 …Installing XML API documentation…
installns: [78336]: Installing XML API documentation…
Installing NSConfig.wsdl…
installns: [78336]: Installing NSConfig.wsdl…
Installing NSStat.wsdl…
installns: [78336]: Installing NSStat.wsdl…
Installing online help…
installns: [78336]: Installing online help…
Installing Cisco online help…
installns: [78336]: Installing Cisco online help…
Installing Logon Point …
installns: [78336]: Installing Logon Point …
Couldnt execute eula_upgrade.pl error: 6400
installns: [78336]: Couldnt execute eula_upgrade.pl error: 6400
Installing Login Schema files …
installns: [78336]: Installing Login Schema files …
Installing SCOM Management Pack…
installns: [78336]: Installing SCOM Management Pack…
Installing LoadBalancer Pack…
installns: [78336]: Installing LoadBalancer Pack…
Installing GUI…
installns: [78336]: Installing GUI…
Installing EPA Package …
installns: [78336]: Installing EPA Package …
Installing Mac EPA and Mac EPA version file…
Installing Linux EPA and Linux EPA version file…installns: [78336]: Installing Linux EPA and Linux EPA version file…
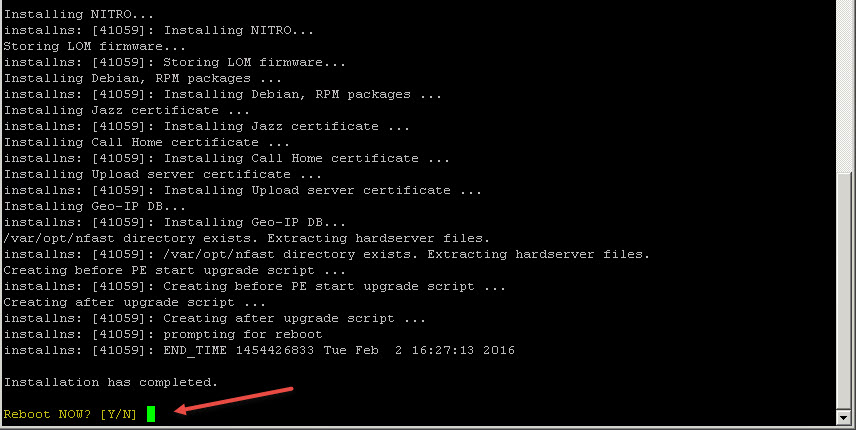
Installing NITRO…
installns: [78336]: Installing NITRO…
Installing Debian, RPM packages …
installns: [78336]: Installing Debian, RPM packages …
Installing Jazz certificate …
installns: [78336]: Installing Jazz certificate …
Installing Call Home certificate …
installns: [78336]: Installing Call Home certificate …
Installing Upload server certificate …
installns: [78336]: Installing Upload server certificate …
/var/opt/nfast directory exists. Extracting hardserver files.
installns: [78336]: /var/opt/nfast directory exists. Extracting hardserver files.
Creating before PE start upgrade script …
installns: [78336]: Creating before PE start upgrade script …
Creating after upgrade script …
installns: [78336]: Creating after upgrade script …
installns: [78336]: prompting for reboot
installns: [78336]: END_TIME 1444031171 Mon Oct 5 09:46:11 2015Installation has completed.
Reboot NOW? [Y/N] Y
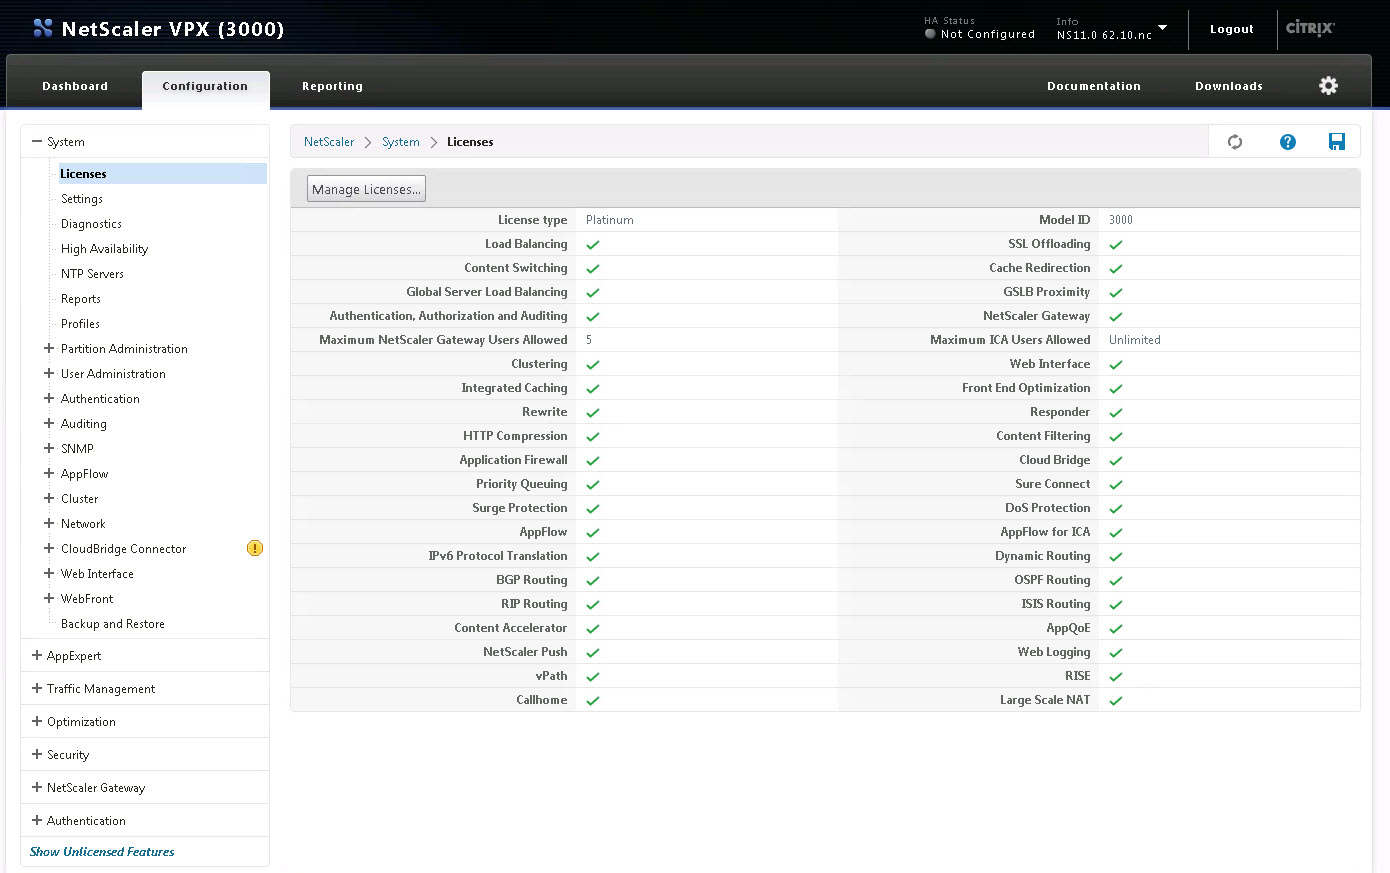
After the upgrade has been successfully completed simply reboot your NetScaler by entering Y and pressing <Enter>. After abouot 90 seconds the NetScaler will be back online and accessible through your browser. Log back in and verify whether the upgrade has been completed successfully by checking your firmware version and license status:

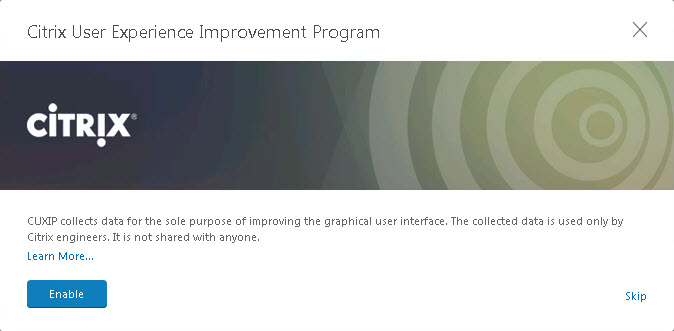
In case you get bogged by the newly added feature called CUXIP (Citrix User Experience Improvement Program), you’re free to chose whether you want to enable it or not.
After that verify the NetScaler Gateway’s functionality by logging in to your vServer’s public Gateway and launching any published resources.
Further reading:
- CTX126793 – Best Practices for Upgrading NetScaler or NetScaler Gateway Appliances
- CTX127455 – How to Upgrade Software on NetScaler Appliances in High Availability Setup
- Automating Citrix Netscaler and PowerShell
- Citrix Blogs – Scripting: Automating NetScaler configurations using NITRO REST API and PowerShell – Part 1 (5 Part series)
- NetScaler Backup by using Powershell